原文链接 (can only be accessed with vpn)
译者注:一些专有名词为了保持本义,选择性略过翻译
在过去的几个月里,我一直在潜心研究ReactNative。这使得我开发应用变得容易太多,但有个组件一直让我困惑于心——ListView
迄今我还没找到解释如何以一种清晰简洁的方式来使用带节标题的ListView,那么这篇文章就来做这件事…
我们在尝试做什么?
本质上讲,我们主要是想要通过ListView组件来以分类的形式展示每一行的数据。例如,我们有一系列食物,我们想要以种类的方式来展示而非在一个长列表中,如下: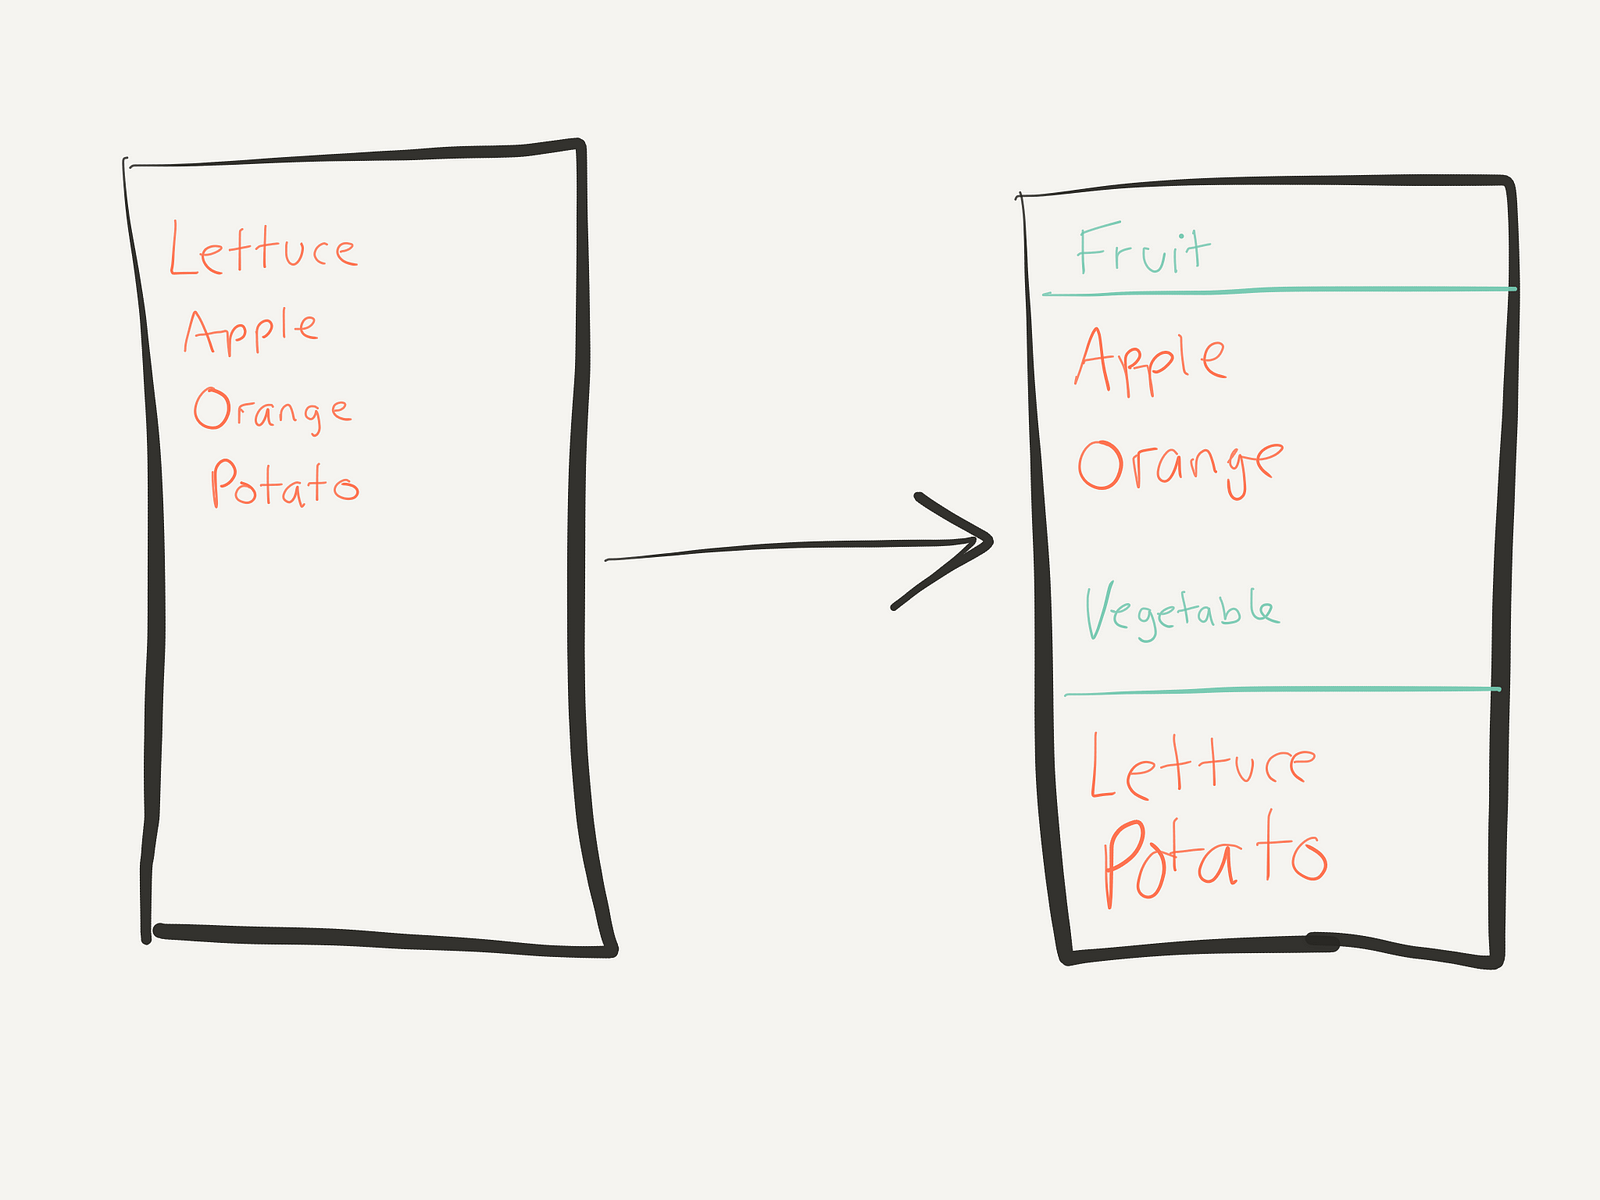
数据源
我们的数据如下:var food = [
{name: “Lettuce”, category: “Vegetable”},
{name: “Apple”, category: "Fruit"},
{name: "Orange", category: "Fruit"},
{name: "Potato", category: "Vegetable"}
];
我们需要把数据转换为以种类为key 值的对象映射关系而非数组。
转换函数如下:convertFoodArrayToMap: function() {
var foodCategoryMap = {}; // Create the blank map
food.forEach(function(foodItem) {
if (!foodCategoryMap[foodItem.category]) {
// Create an entry in the map for the category if it hasn't yet been created
foodCategoryMap[foodItem.category] = [];
}
foodCategoryMap[foodItem.category].push(foodItem);
});
return foodCategoryMap;
}
设置初始状态
现在数据已经被转换为我们所需要的格式了,现在看看如何书写ListView部分的代码:getInitialState: function() {
var dataSource = new ListView.DataSource({
rowHasChanged: (r1, r2) => r1 !== r2,
sectionHeaderHasChanged: (s1, s2) => s1 !== s2
});
return {
dataSource: dataSource.cloneWithRowsAndSections(this.convertFoodArrayToMap())
};
}
我们在第3行创建了源数据, 并在4~6行告诉它如果任意部分数据发生改变,对应行或节标题会被重新渲染。
在第9行,我们使用了dataSource,ReactNative通过搭配cloneWithRowsAndSections 方法来将我们的源数据变成为ListView所需要的数据源
就这样!这部分复杂的代码就被写完了。刚开始看起来会复杂一些,但一旦搞明白具体怎么回事,一切将会迎刃而解。
渲染ListView
现在剩下的就是ListView的渲染了,它的每一行和每一个节标题。
ListView渲染代码如下:render: function() {
return (
<ListView
dataSource={this.state.dataSource}
renderRow={this.renderRow}
renderSectionHeader={this.renderSectionHeader}
/>
)
}
这里与普通的ListView仅有行渲染而没有节渲染不同的是还有renderSectionHeader属性。你可以使用这个属性来为每一个节标题来提供渲染函数。因此,你的渲染函数可以这么写:renderRow: function(foodItem) {
return (
<Text>{foodItem.name}</Text>
)
},
renderSectionHeader: function(sectionData, category) {
return (
<Text style={{fontWeight: "700"}}>{category}</Text>
)
},
需要注意的是,在renderSectionHeader中的第二个参数才是每一节中用来获取key/title/id 的参数。